


Bathroom Tiles

Local London Tile Contractors
Tile your home bathroom and love it!
Our renovation team has expert tile installers who will fit your bathroom with custom tiling.
Bathroom Tile Services
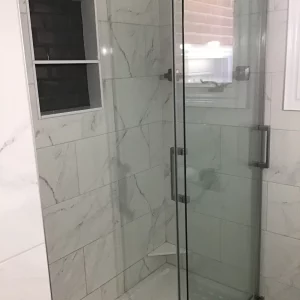
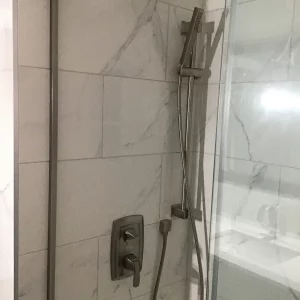
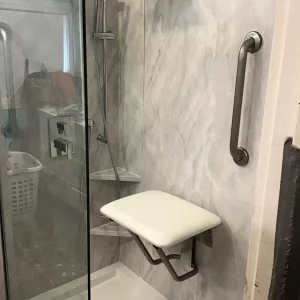
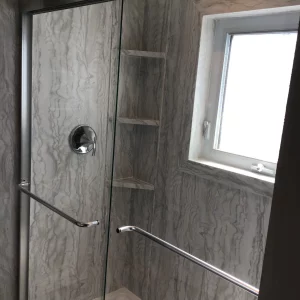
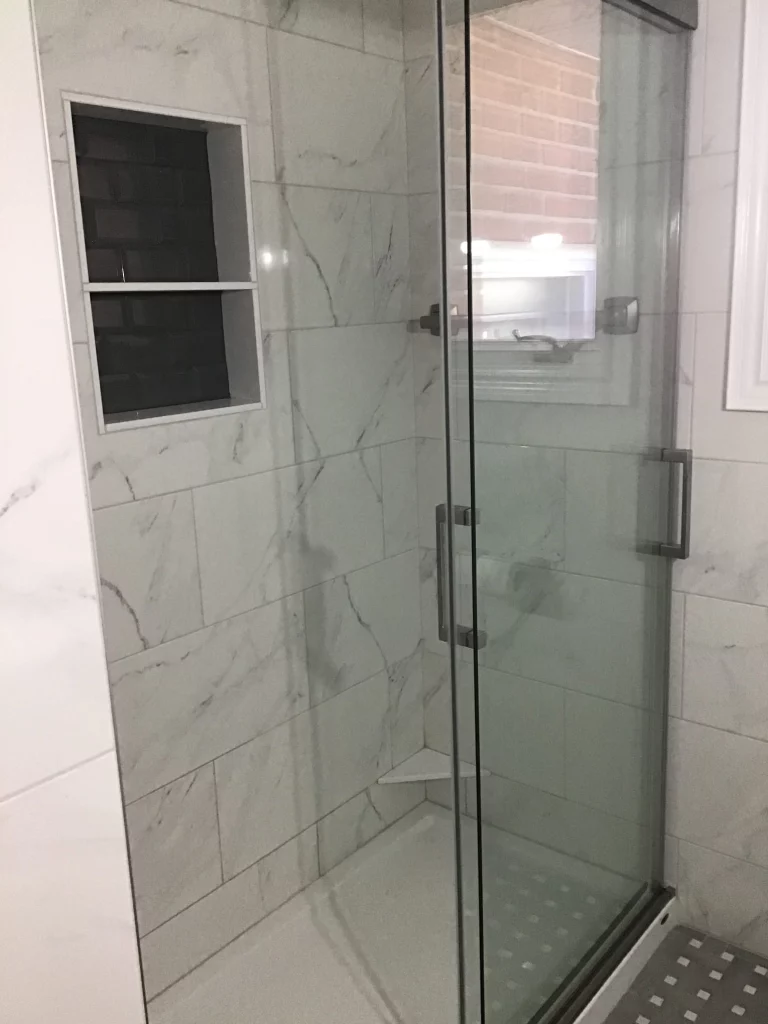
- Stand Up Showers
- Shower Pans
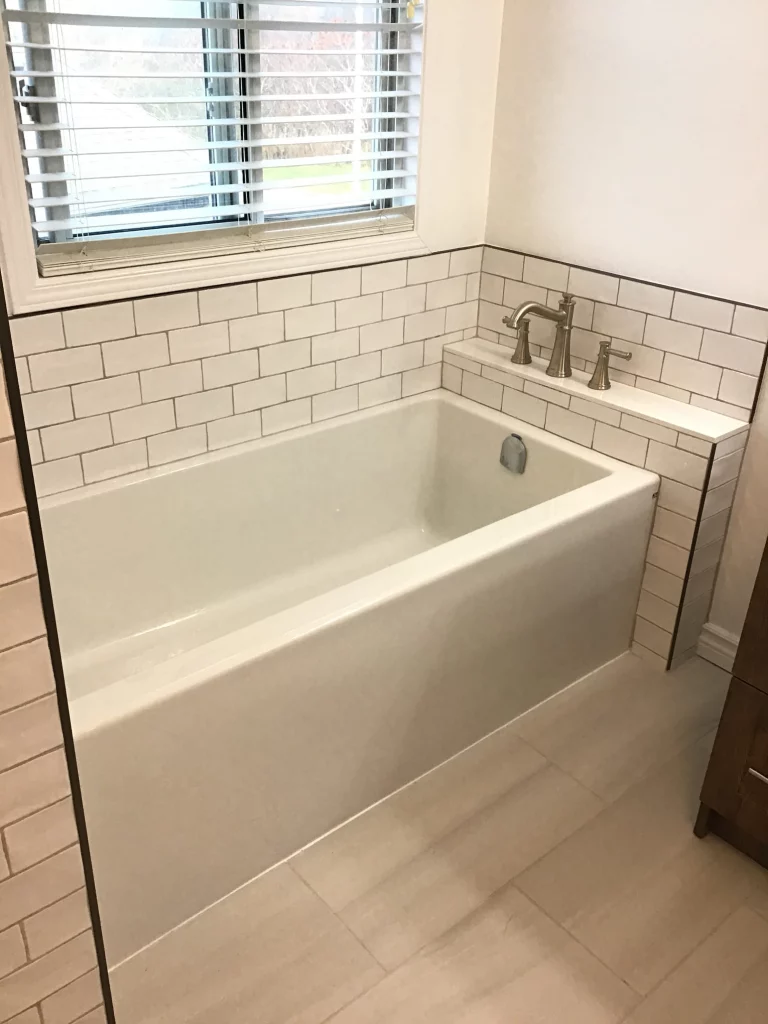
- Bathtub Surrounds
- Tub Walls
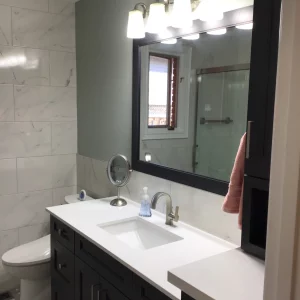
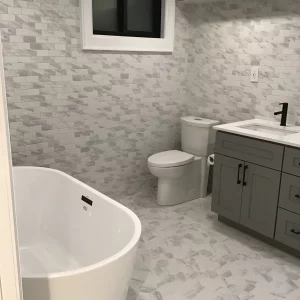
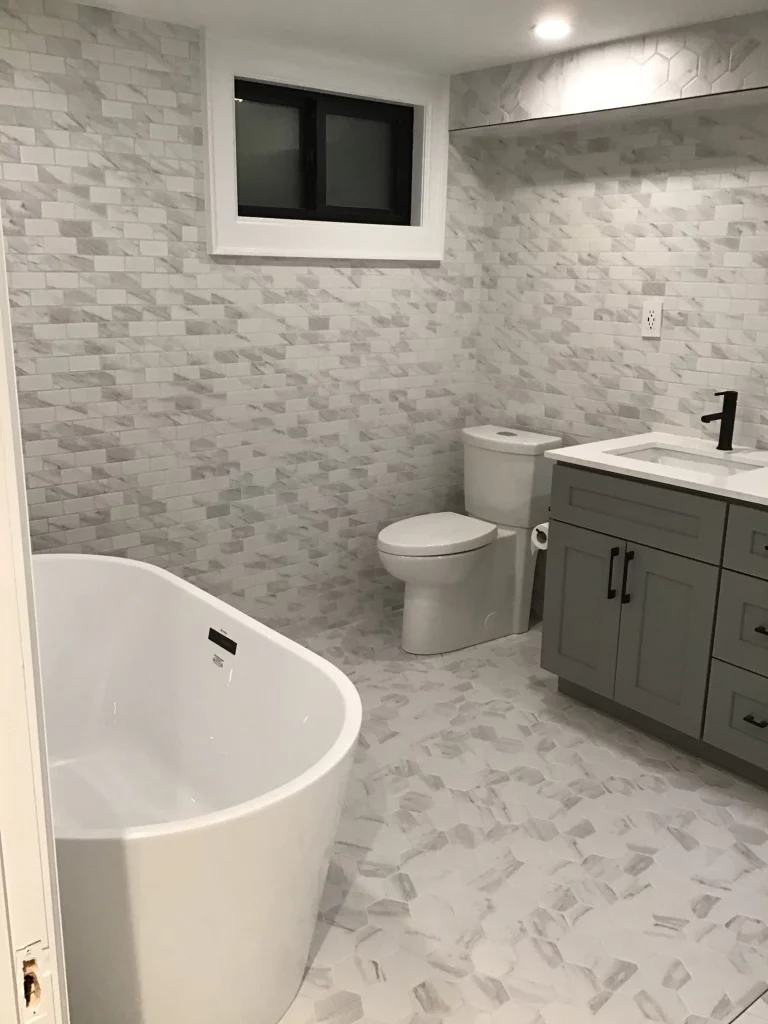
- Bathroom Floors
- Bathroom Walls
- Bathroom Sinks
- Backsplash
- Classic Tile
- Modern Tile
- Patterned Tile
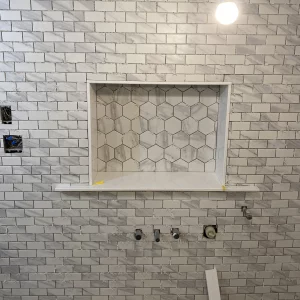
- Marble Tile
- Ceramic Tile
- Round, Square, and Hexagon Tiles

Get Bathroom Tiling by Professionals
- Trusted Local Tile Contractors
- Full consultation including a free quote
- Upfront & inclusive pricing from demolition to project completion and clean up.
- Installing tiles is a challenge! Get it done right and leave the hard part of your DYI project to the Donaldson Family of home comfort experts.
- Our tilers have turned 100s of local area London Bathrooms into works of art!
- Demolition and removal of all old materials
- Financing on approved credit and no deposit required
- 100% Satisfaction
Tile with us
1. Plan your design: Decide on the type of tiles you want to use and how you want them arranged (e.g., in a grid, diagonal, etc.). Calculate the square footage of the area you want to tile to determine how much tile you need. Don’t forget to account for cutting and potential mistakes.
2. Prepare the surface: Ensure the surface you’re tiling is clean, dry, and level. If you’re tiling over existing tile, make sure it’s securely bonded to the surface. Otherwise, consider removing the old tile and patching any damage.
3. Lay out the tile: Dry-lay the tiles on the floor or wall to see how they will fit and to help you plan your design. Mark your layout lines using chalk or a pencil to guide your tile placement.
4. Mix and apply tile adhesive: Mix the tile adhesive according to the manufacturer’s instructions. Use a notched trowel to apply a thin, even layer of adhesive to a small section of the surface.
STUNNING TILE
5. Set the tiles: Place the tiles according to your layout lines. Use spacers between the tiles to maintain even grout lines. Press the tiles firmly into the adhesive.
6. Cut tiles as needed: Use a tile cutter or wet saw to cut tiles to fit around edges, corners, and obstacles. Make sure to wear safety gear when cutting tiles.
7. Continue laying tiles: Continue placing tiles in small sections, ensuring they are level and properly spaced. Check your progress regularly.
8. Let the adhesive dry: Allow the adhesive to dry according to the manufacturer’s instructions, typically 24 hours.
9. Apply grout: Once the adhesive has dried, remove spacers and mix your grout. Apply the grout with a rubber float, working it into the grout lines at a 45-degree angle.
Tiling 101
10. Clean excess grout: Use a damp sponge to clean excess grout from the tile surfaces. Rinse and wring out the sponge frequently to avoid smearing grout on the tiles.
11. Allow grout to cure: Allow the grout to cure according to the manufacturer’s instructions, typically a day or two.
12. Seal the grout: Once the grout has cured, apply a grout sealer to protect it from moisture and stains.
13. Final cleaning: Give the tiles a final cleaning to remove any remaining haze or residue from the grout.
Get A free Bathroom Renovation Quote
"*" indicates required fields